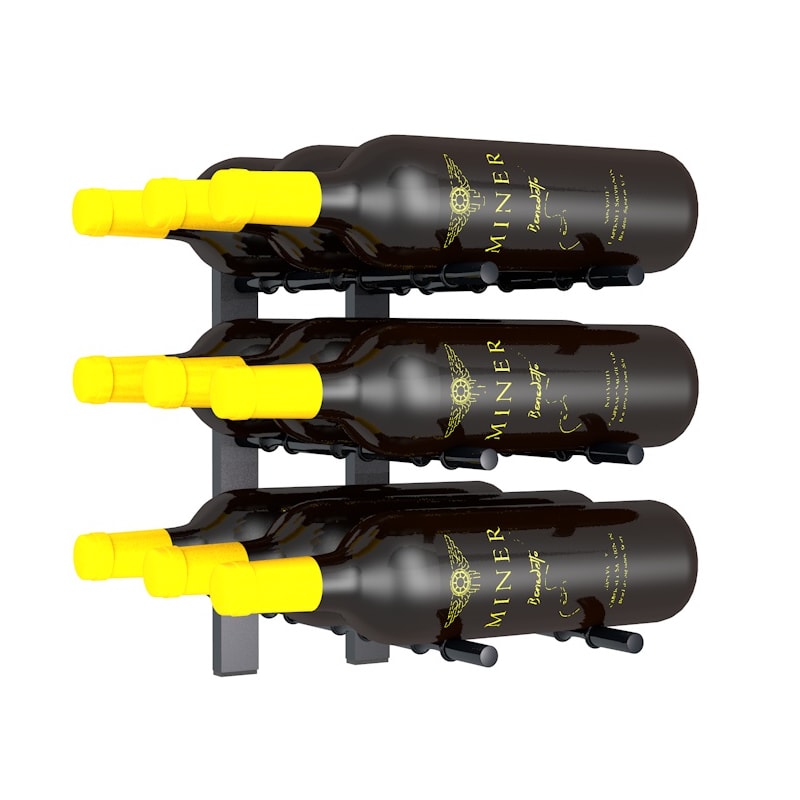
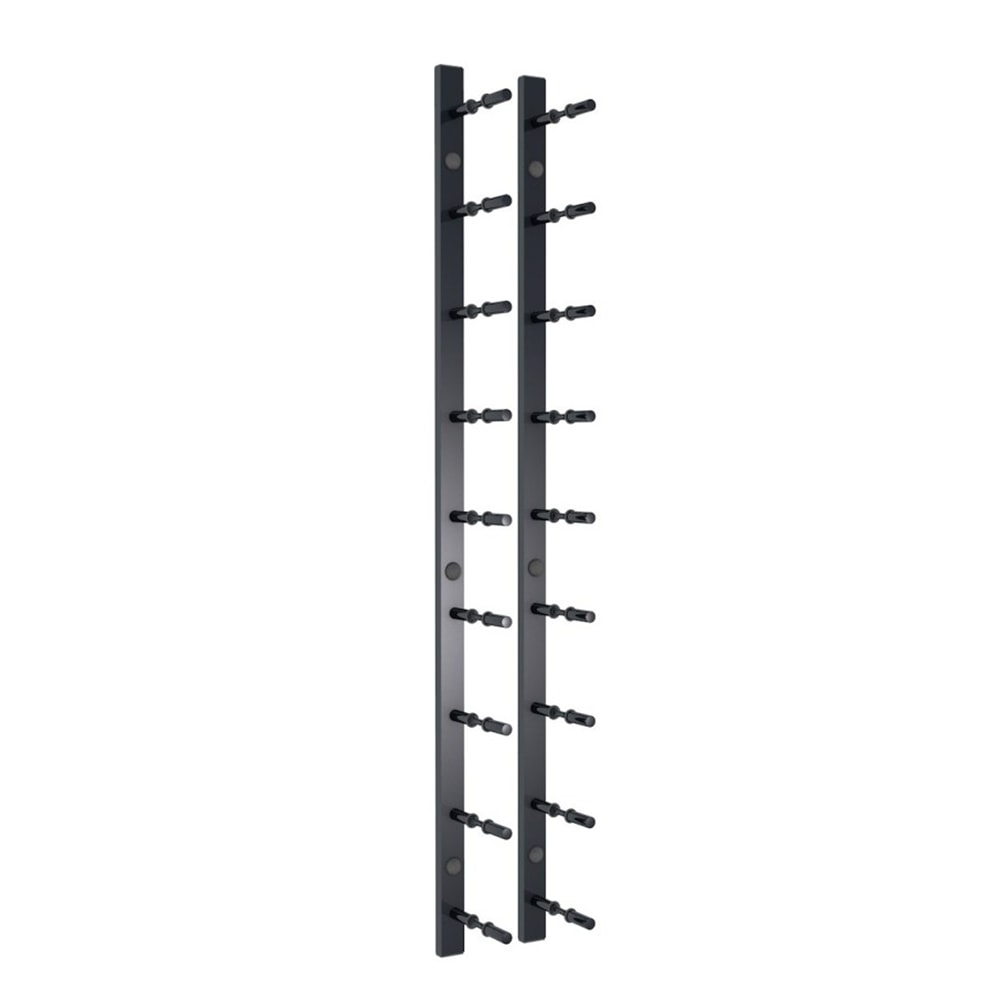
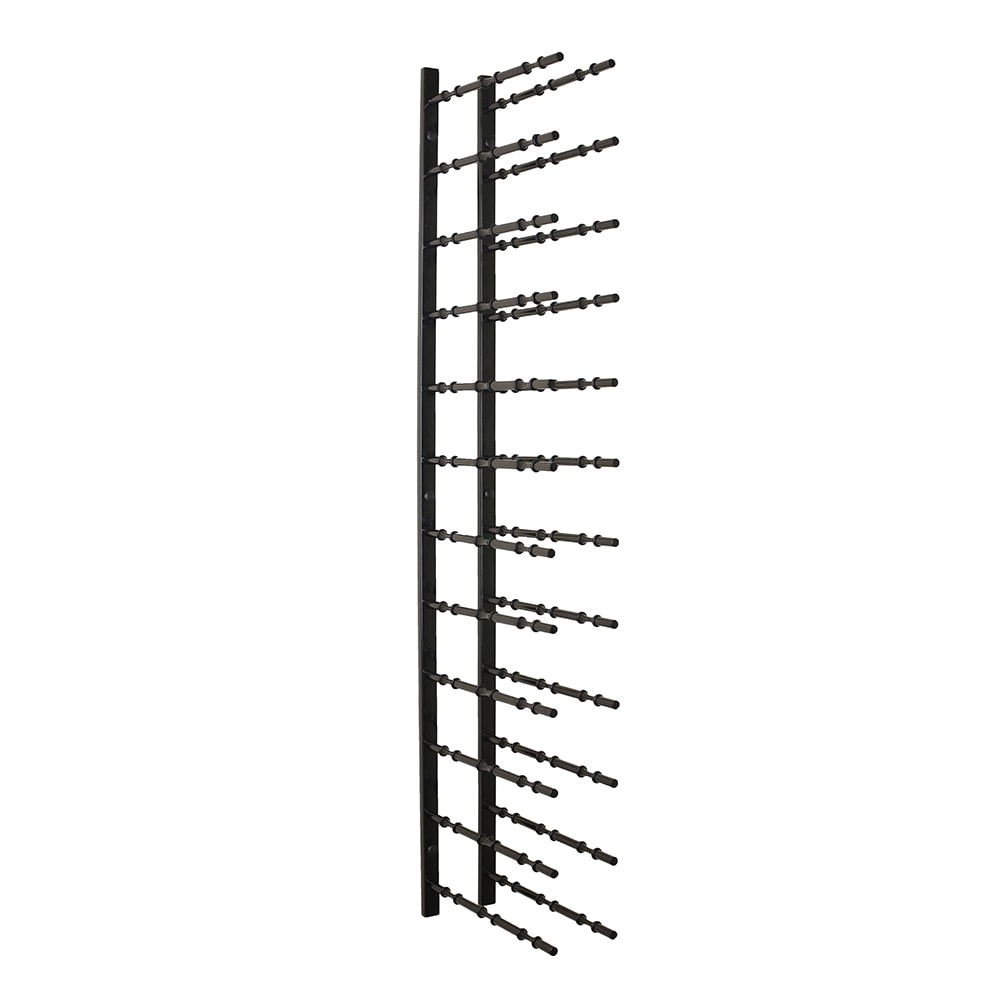
Ultra Wine Racks – HZ Rails
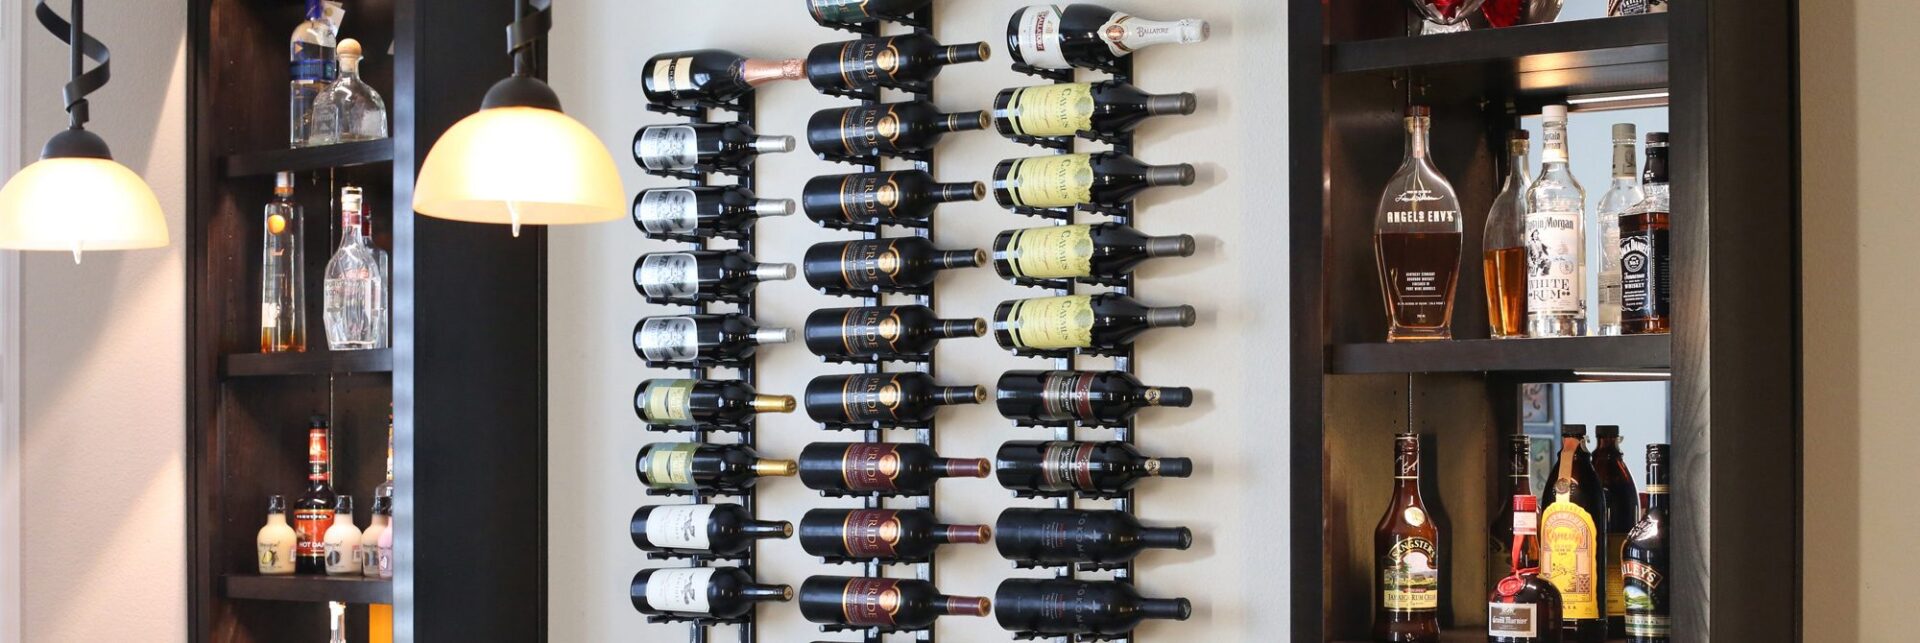
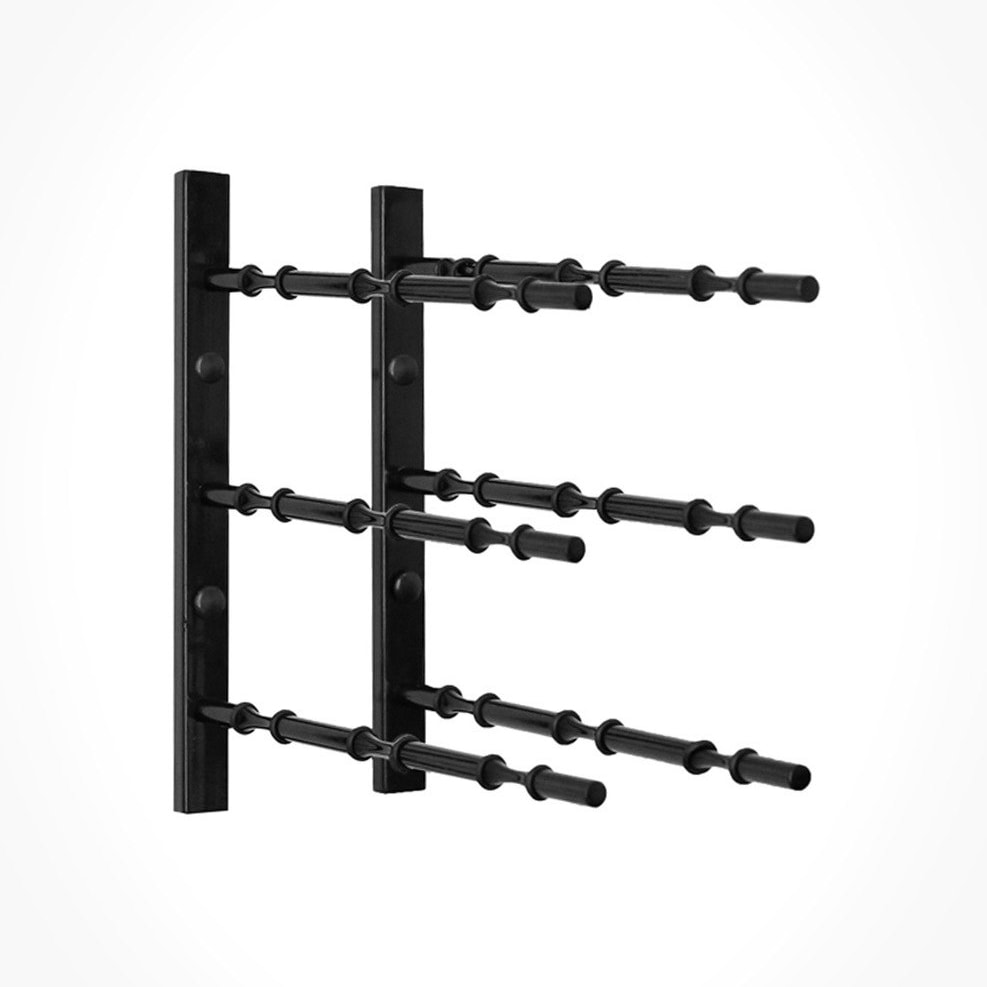
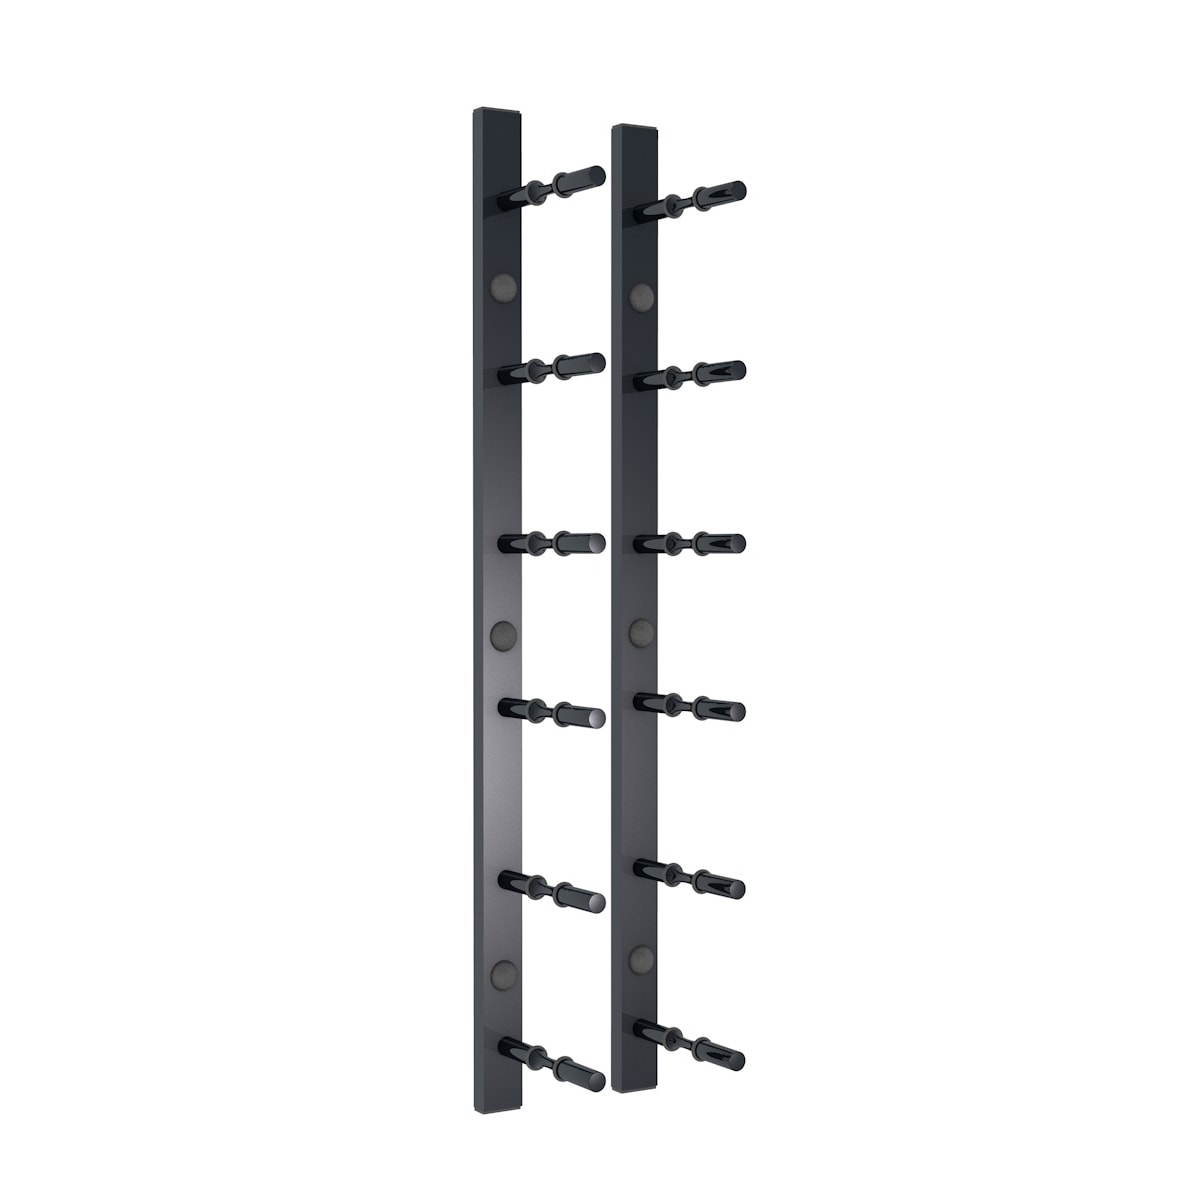
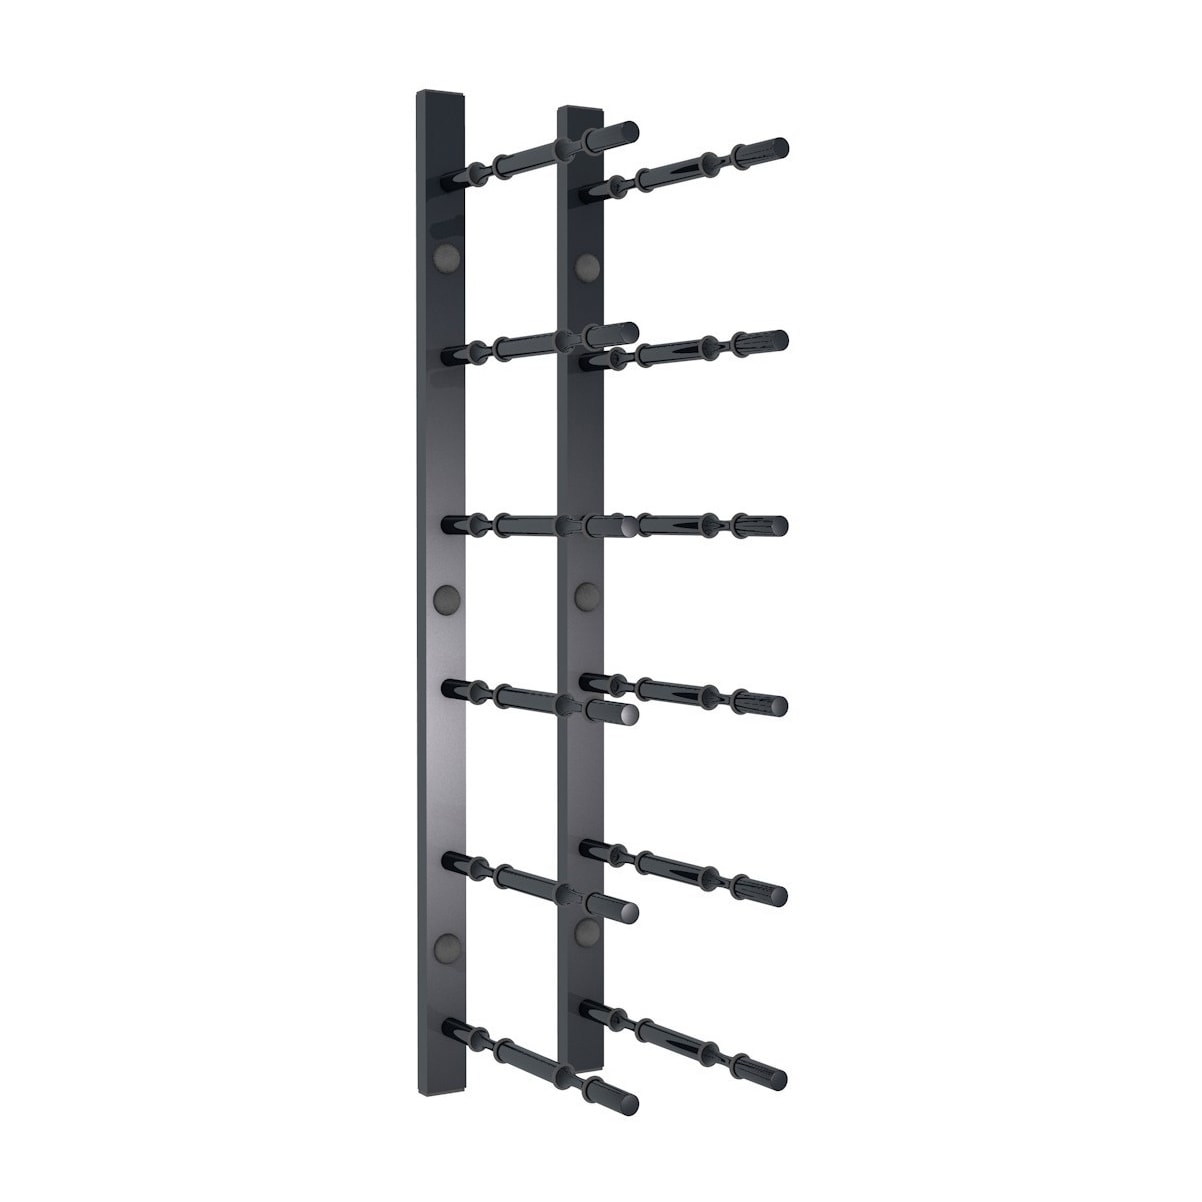
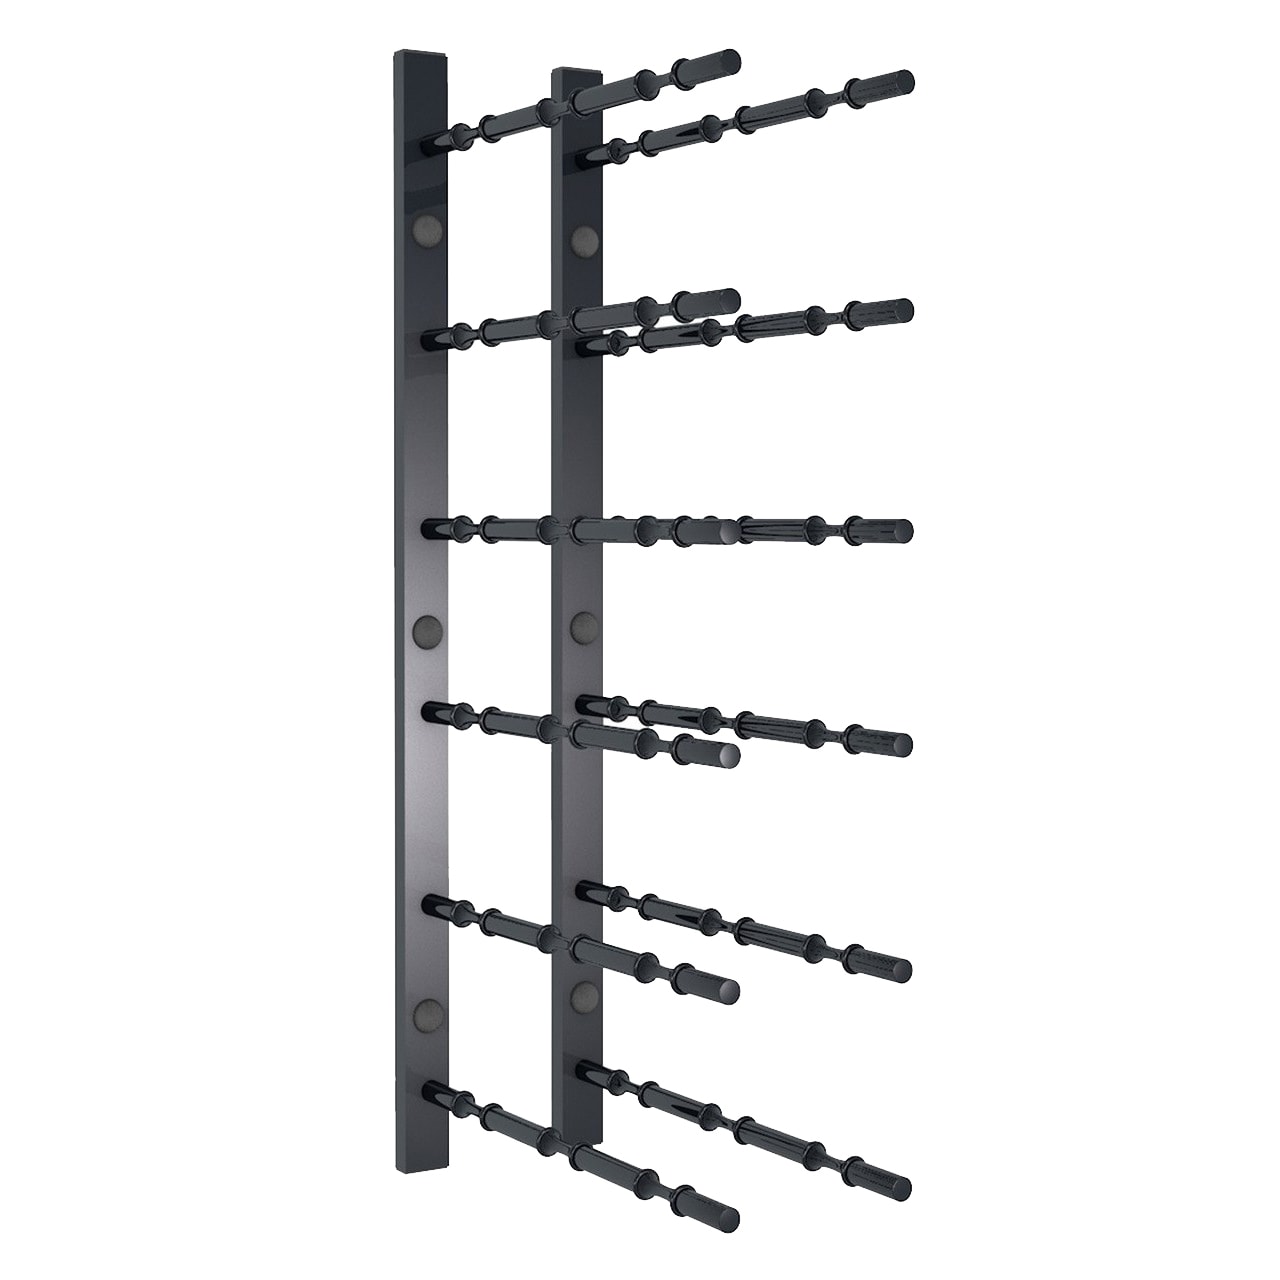
Ultra Wall Rails are wall mounted metal wine racks that are easy to DIY. Allow your creative side to come out by buying these racks.
So sit down, have a nice glass of wine, and design your display with endless possibilities.
INSTALLATION
Drywall Anchors (Included) – Use for installing rails to drywall if studs are not present in the desired location. Do not use drywall anchors to secure into a wall stud location.
Concrete, Brick or Stucco (Not Included) – 3/16″ x 1-1/4″ Masonry Screw or #8×1-1/4″ screw with the proper concrete anchors.
Wood Screws (Included) – Use wood screw to secure rails to wall studs or wood panels, do not use on drywall without securing to a stud. Concrete or masonry applications are not recommended.
Step 1 Use Stud Finder to map mounting locations
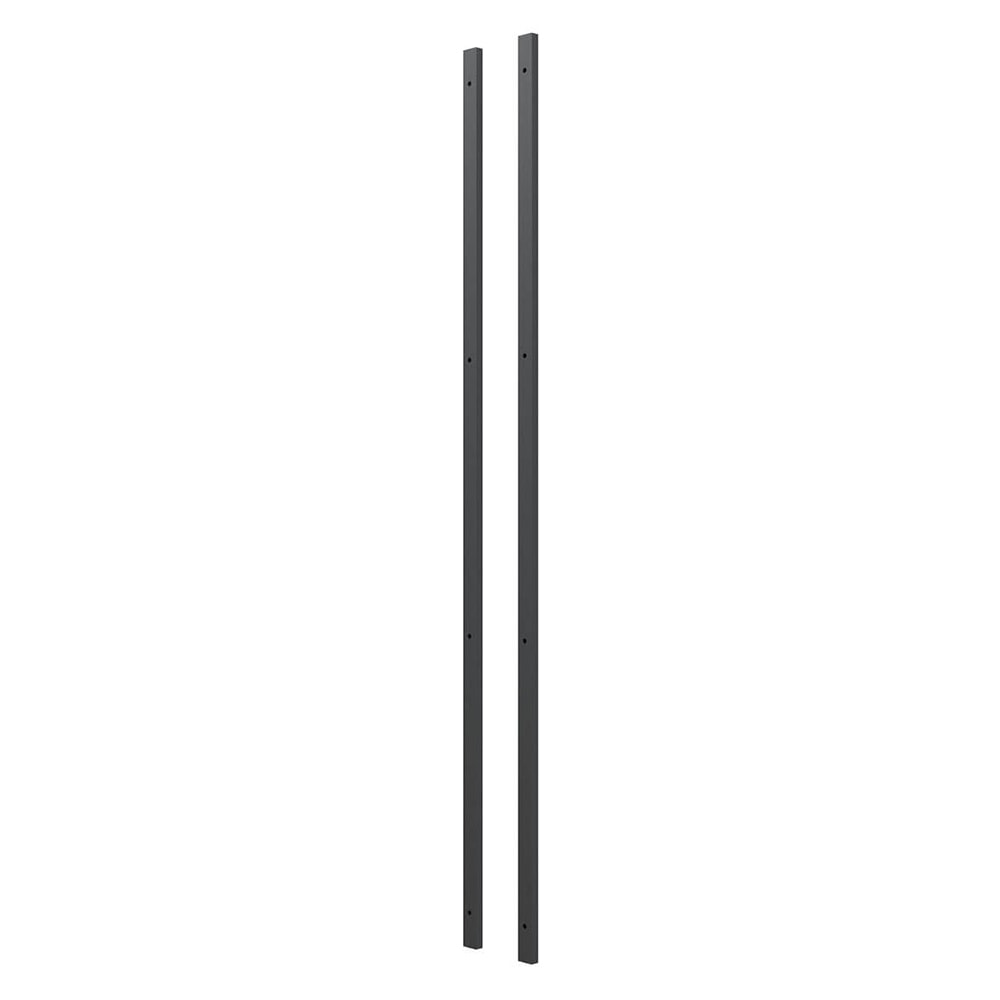
Step 2 Place Rails against walls in desired location
Step 3 Use Pencil & Level to mark mounting holes, use wall anchor if stud is not available
Step 4 Drill Anchor into wall and then mount rail with wood screw, otherwise directly mount
rail into stud with wood screw.
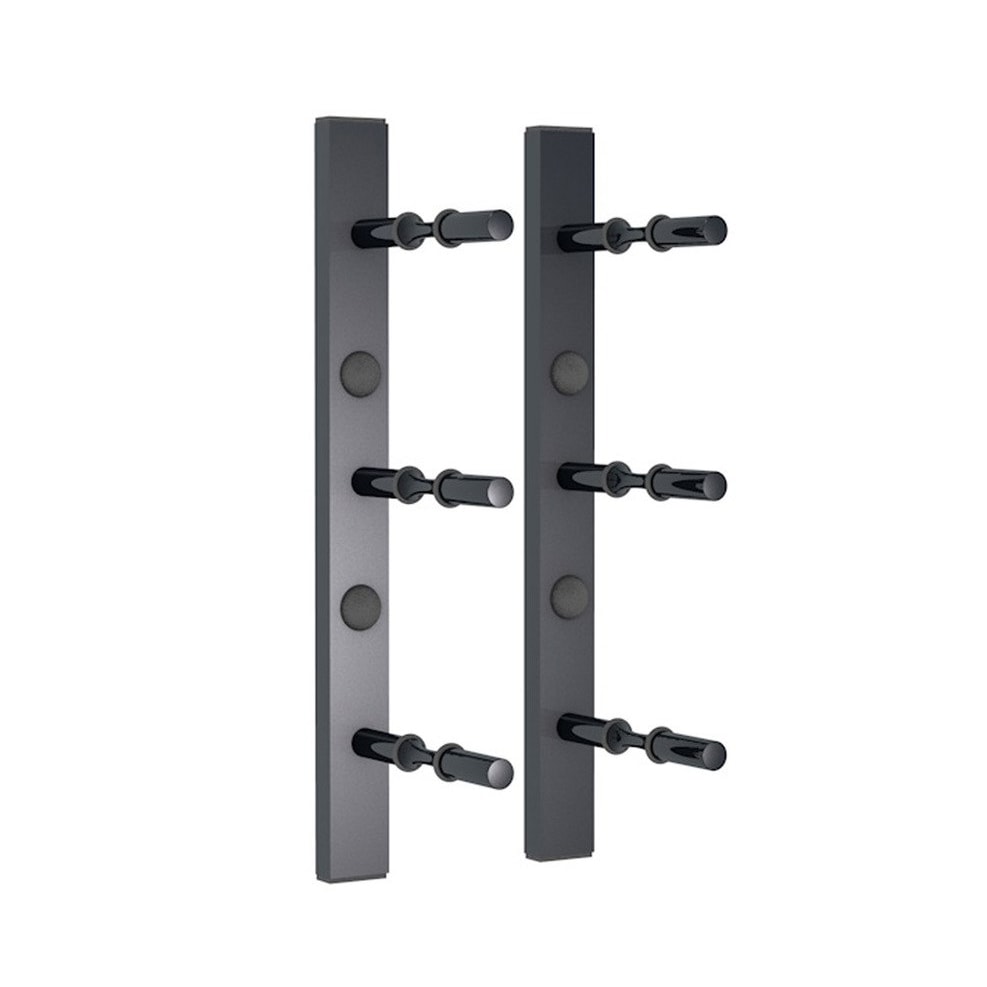
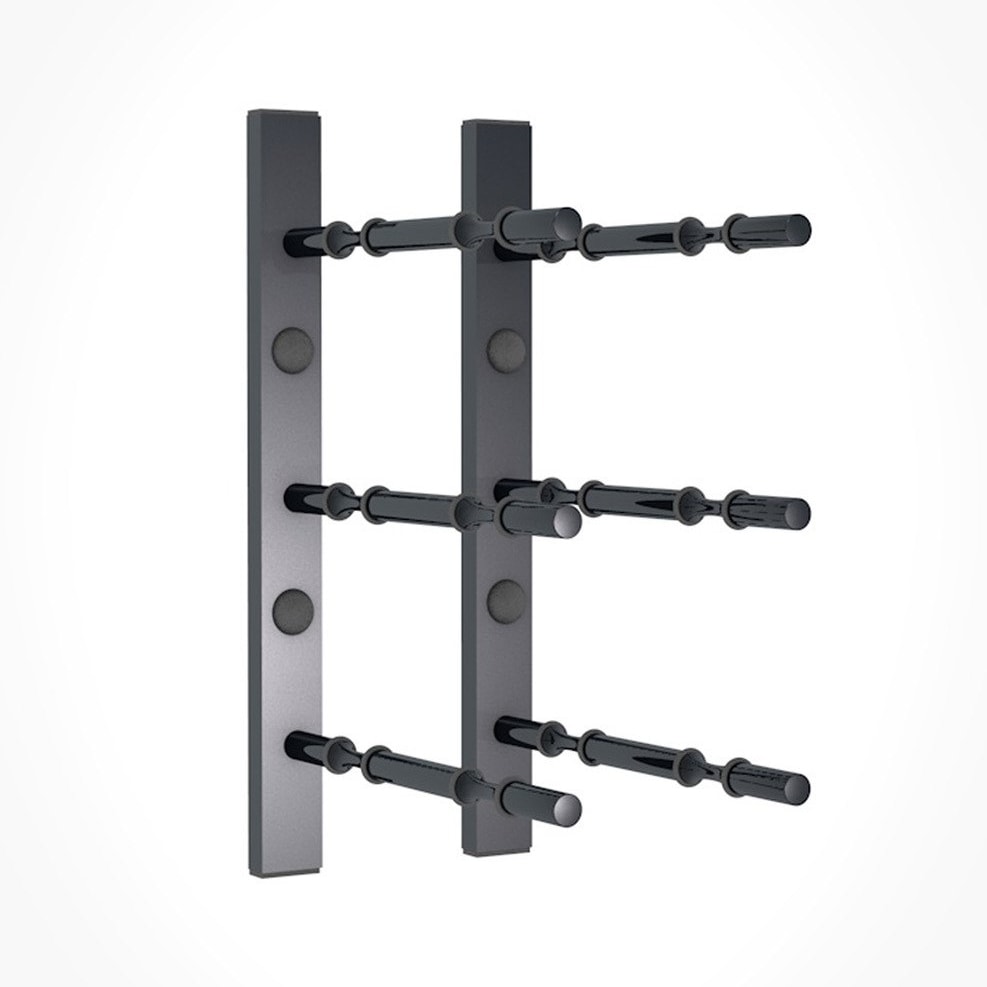
Step 5 HZ Distance requirement is 3″ Max center space between rails, or 4″ Max from center
to center of screw locations.(Same distance)
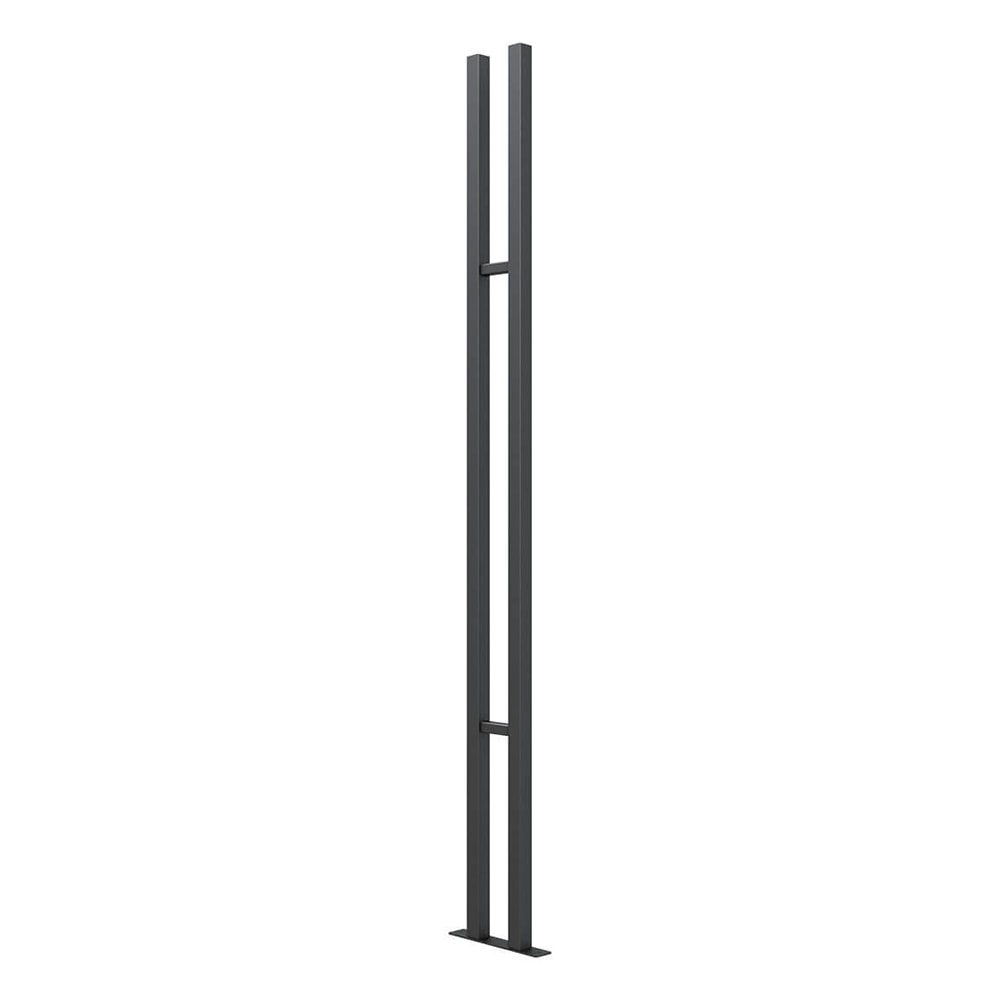
Step 6 If you are extending rails vertically repeat steps 2-5. Use extension couplers to connect rails
Step 7 If you have multiple sets to create horizontal displays, the minimum space between rail
sets is 9″
Step 8 Add the finishing touch by inserting Endcaps and Dome caps, congratulations you have
completed your Ultra Rack Installation! *Bottle must be level (no tilt) to be supported.
HZ Label Out Series Features
